This is the 7th month of the worldwind Cheesepalooza challenge. February is getting down with washed curds. This month we were asked to make a Havarti, Edam, Fontina or Gouda. I opted for the Dutch creamy and buttery Gouda cheese.
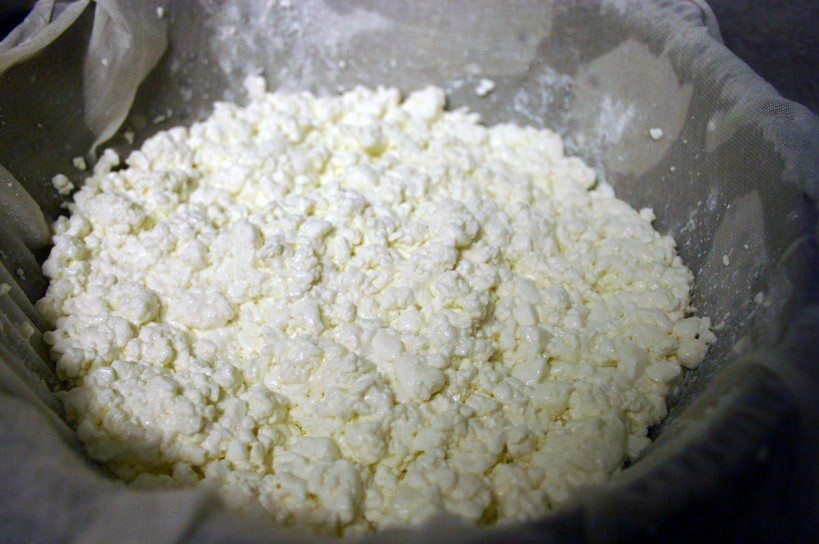
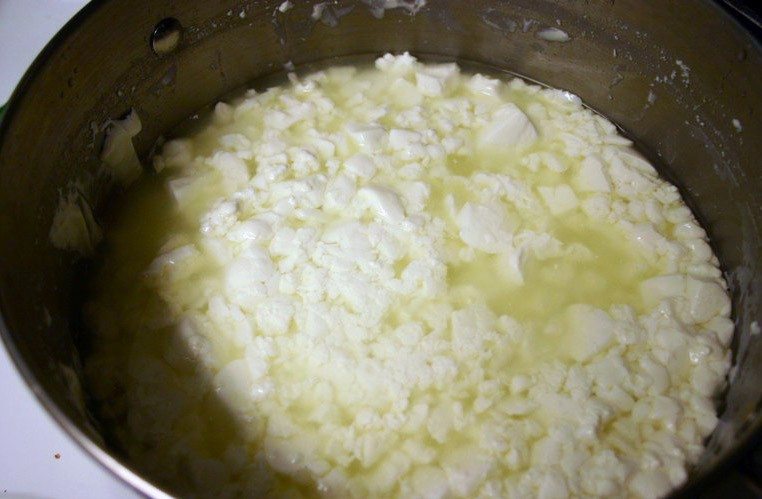
If you want to see the whole process of making cheese, from flocculation to cutting the curd and releasing the whey, check out my earlier post. What sets this recipe apart is the washed curds technique. Once the curd has been cut there are a few techniques that allow you to get as much whey out of the curds. One way is to drain part of the whey, then add hot water to raise the temperature of the curds to a specified degree. Here we do this twice in a row, elevating the temperature again on the second wash.
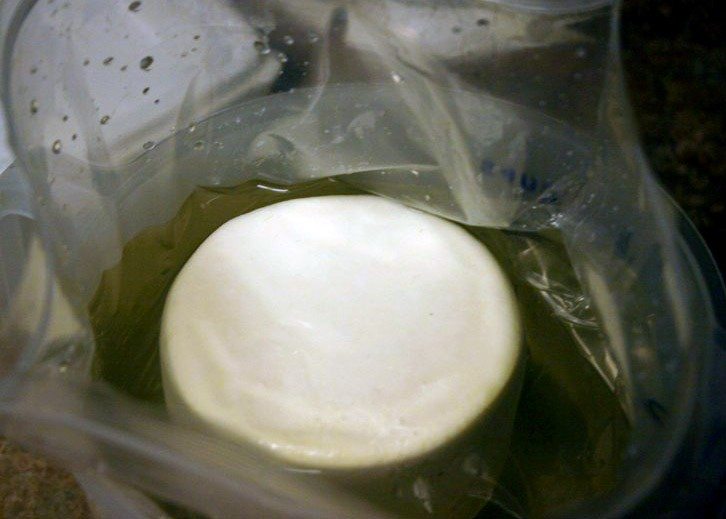
The brine recipe I got here. Once you are done brinning just put the brine in a thick freezer zip-lock bag and keep it in the freezer till you need it again. Keep in mind the liquid will not become soild so make use it is place somewhere it will stay upright.
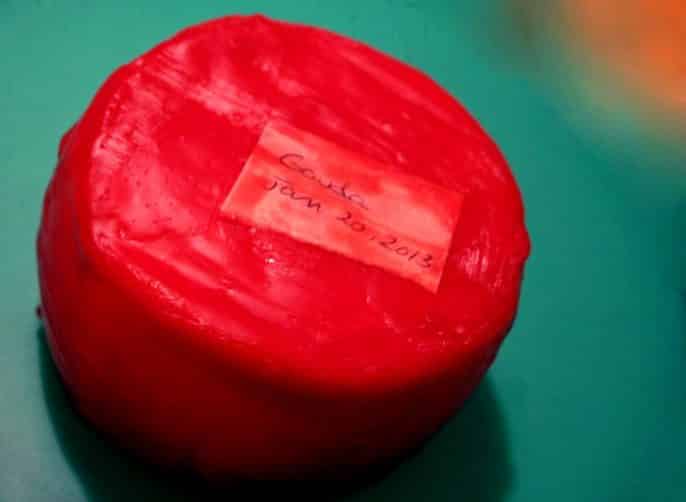
This Gouda was inspired by this recipe but I modified the last bit. There are lots of conflicting opinions when it comes to the drying and aging part. I opted for a shorter drying time of 7 days instead of 21. I think the later is too much and would make the cheese to dry. I waxed it at 7 days and it has now been aging in the fridge for 1 month.
Gouda
Ingredients
- 1 gallon whole milk
- 2 ounces mesophilic starter culture
- 1/4 teaspoon calcium chloride diluted in 1/4 cup cool water
- 1/4 teaspoon liquid rennet diluted in 1/4 cup cool water
- 1/2 gallon water
- 1 pounds cheese salt
- 1/2 tablespoon calcium chloride
- 1/2 teaspoon vinegar
Instructions
- Heat the milk to 90 degrees. Add the culture and mix well. Cover and allow the milk to ripen for 10 minutes.
- Add diluted calcium chloride and mix for 30 seconds.
- Add the diluted rennet and stir gently with an up-and-down motion for 1 minute.
- Cover and let the milk set at 90 degrees for 1 hour, or until the curds give a clean break.
- Toward the end of the hour, start heating your pot of water.
- Cut the curd into 1/2-inch cubes. Let them set for 10 minutes.
- Drain off one-third of the whey.
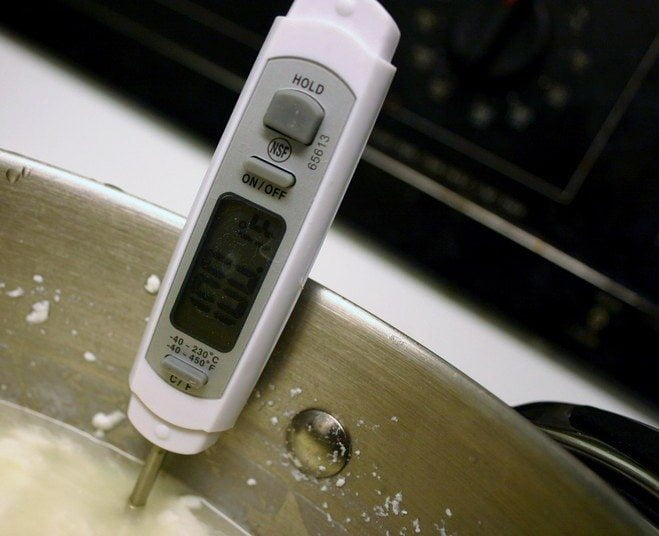
- Stirring continuously, slowly add just enough 175 degree water to raise the temperature of the curd to 92 degrees.
- Let the curd settle again for 10 minutes. Drain off the whey to the level of the curd.
- Once again, while stirring constantly, slowly add just enough 175 degree water to bring the temperature of the curd to 100 degrees. Keep the curd at 100 degrees for 15 minutes, stirring often to keep the curds from matting.
- Allow the curds to set for 30 minutes. Pour off remaining whey.
- Quickly place the warm curds in a 1-pound cheese mold lined with cheesecloth, breaking them as little as possible. Press at 20 pounds of pressure for 20 minutes.
- Remove the cheese from the mold and gently peel away the cheesecloth. Turn over the cheese, re-dress it, and press at 40 pounds of pressure for 20 minutes.
- Repeat the process (turn over the cheese, re-dress it) but press at 50 pounds of pressure for 8 hours. Remove from the press delicately.
- Make a brine using 1 pound of cheese salt stired until disolved. Mix in calcium chloride and vinegar.
- Soak the cheese in the brine in the refrigerator, 3 hours per pound of cheese. Flip it every 45 minutes. Remove the cheese from the brine and pat dry.
- Air dry in the fridge on a matt for 7 days.
- Wax the cheese. Age it at 50 degrees for 3-4 months, turning it 3 or 4 times a week.
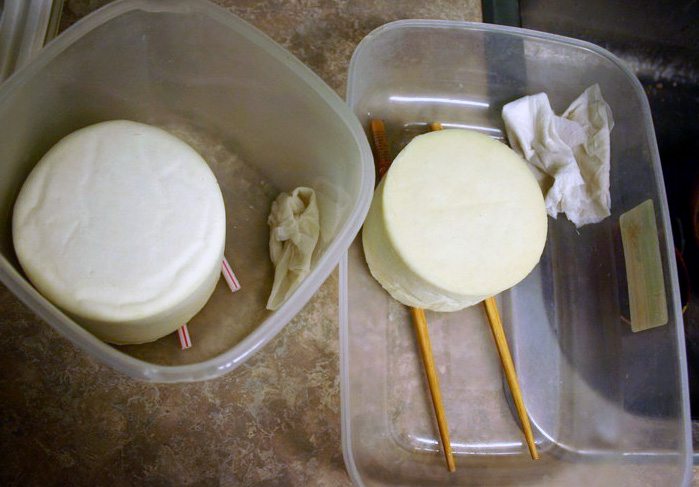
What do you do when a cheese recipe says to age your cheese in a cheese cave at say 50 F with an 80% humidity index….but without the cheese cave? Get an air tight container, put a couple of chopsticks on the bottom, place your cheese on top so air can pass underneath it. The cheese should take about 40% of the space. Ball up a wet paper towel in the opposite corner of the container. Keep an eye on the humidity level with a hygrometer. If you are air drying a cheese and it starts to crack you can place it in this type of container for a few days: by equalizing the humidity inside and out the cracks will heal.
I’ll be out for next month’s challenge but will be back in 2 months for Brie or Camembert!
If you want to learn more about cheese making check out my past posts on






This is so impressive! I love learning more about cheese!
I’m impressed by you in so many levels and I don’t know how to describe. I love gouda (especially smoked gouda – oh so good!). I am not sure when I can even try to make cheese but I know where to come back to – you are a cheese making pro!
I am so impressed with the cheese you are making. You really have a talent for this!
Wow! I love making Queso Fresco, but that is an easy cheese to make….This is amazing, Evelyn! Great job!
Wow, I’ve never seen anyone make Gouda cheese at home before, hats off to you!
i am SOOO impressed with your cheese making skills! i don’t think i can do it plus i have the worst luck with making cheese….lol. i even mess up paneer sometimes and that’s supposed to be so easy…hahha.
Wow Evelyne, your Gouda looks awesome…you somehow perfect the making of cheese…I love this tutorial pictures…
Have a wonderful week!
Evelyne this head of gouda cheese is simply perfect! I wish you were my neighbor!
I can’t even properly cook half the recipes I try. I think I’ll leave cheese making to the experts.
I love that you take us with you on your cheese adventures!!
You’re such an accomplished cheese maker Eve! 🙂 And I once visited one of those straw caves-it was fascinating. It was really just for show though as they aged the cheese in a more modern facility but it was wonderful to visit somewhere where they used to do it 😀
Thank you all!
Valerie, no I am aging it min 3-4 months 🙂 And I don’t have a vacuum bag gadget.
Eveyln,
So you are aging your gouda for only one month? I surprised you even waxed it, then… a vacuum bag would have worked, right? This is the first cheese I waxed as I didn’t have any wax for the farmhouse cheddar and vacuum packed it instead. That worked very very well. I still have some and it is still delicious. I would recommend you make Ian’s Caerphilly recipe. That is still my favourite by a country mile, so far. I didn’t wax my asiago either, but plan to when I wax my Gruyere which I will be making next. It is also vacuum packed right now. I cannot wait to see how your Gouda is in one month. I have a baby one and a huge one… and that early date is definitely tempting me to open up that baby soon!
🙂
V
PS send me your photo and deets! XO
I am so impressed, Evelyne. Can’t imagine myself doing this…you are amazing!
One of my favourite everyday cheeses! Seriously impressed that you made this!
Wow! My Dutch uncle would be SO impressed (well, I am, too!). You are going to have to have some parties when all your cheese is aged 🙂
So impressive! I can’t even imagine making my own cheese 😛