Here we are already at the 5th month of Cheesepalooza. Well I am actually a little late, this was the December installment where we had to make a Farmhouse Cheddar or a Caerphilly. This was our first pressed cheese. Oh boy a new challenge. You learn a lot making cheese and sometimes you need to be very creative…like when you do not own a cheese press, a cheese mold, or when you attempt to make you own milk. Yes you read that correctly. Read on for a palpitating story in cheese making.
Farmhouse cheddar is ready after 1 month but event better to wait 3 months. Christmas was my 1 month mark so we tried hafl of it and I resealed the second half to wait a full 3 months. I was suprised at how drier it was than regular cheddar but this is apparently normal. The taste was very mild and lovely.
I became very fearful of using store bought milk after requiring 4 attepmts before making a successful mozzarella. I still cannot say if the milk was the reason but I came across a possbile solution here. This recipe lets you make your on cheese freindly milk: mixing bottle water with cream and a good quality Non Fat Dry Powder milk. It has to be the good stuff, like ‘Carnation’, as cheeper brands may not work because the milk was dehydrated at too high a heat.
For 1 gallon of milk mix up 1 gallon of bottle water (non chlorinanted) and Non Fat Dry Powder milk according to manufacturers instructions. Remove 1/2 or 1 pint milk to make room for cream. Add 1 pint light cream or if only heavy cream can be found use 1/2 pint. Mix well and let it re-hydrate in the fridge overnight.
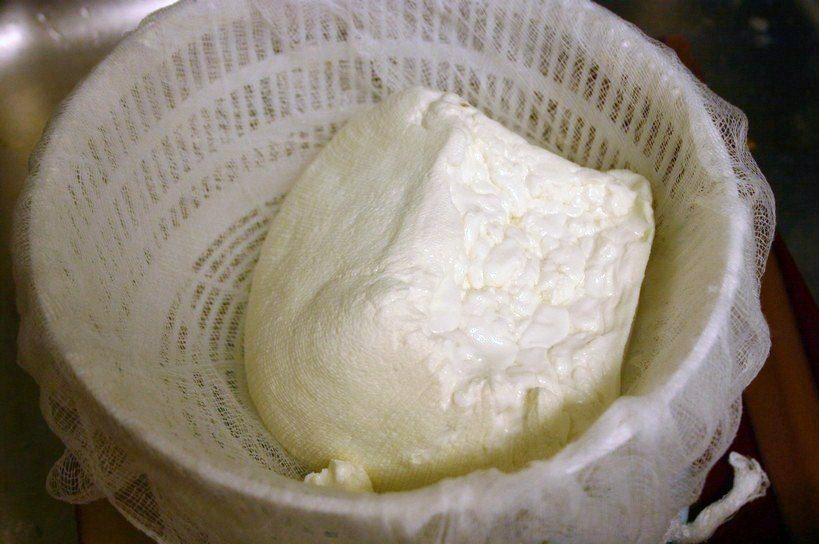
OK so I have drained my curd and I am not suppose to put it in a cheese mold and start pressins it. Well I had neither. I made up a mold by cutting the bottom of a 2l milk container and cutting it high enough to hold my curd. It was not practical and the curd kept trying to escape but it did the job. I have a proper mold now.
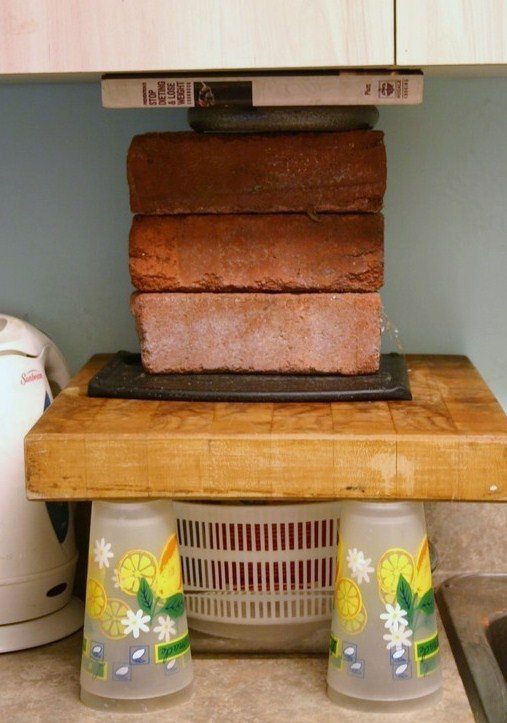
I did not have a cheese press either so we got creative by adding various weights at the different pressing stages. Here is the last one with a guess of about 25 pounds of pressure. I have found a bargain press on Ebay since then too.
So what does Farmhouse Cheddar taset like? This rustic version of cheddar is actually drier and more crumbly than the cheddar we know. But with aging the flavor can become as full and sharp. I mixed up my recipe from two different sources: on just a couple acres and chickens in the road.
Farmhouse Cheddar
Ingredients
- 1 gallon milk
- 1/4 t. calcium chloride dissolved in 1/4 c. water
- 2 oz. mesophilic culture cubes
- 1/4 t. liquid rennet dissolved in 1/4 c. water
- 1 T. canning salt
Instructions
- Add milk to a large pot. Thoroughly stir in the dissolved calcium chloride. Heat the milk to 90 degrees, stirring.
- Add the mesophilic culture and stir until melted. Cover the pot and allow to sit and ripen for 45 minutes.
- Add the dissolved rennet, stirring for one minute in a gentle up & down motion. Cover the pot and allow to sit forming curds for 45 minutes.
- Test for a clean break by using a knife to just lift a bit of the curd. It should lift clean and smooth and the void should fill with a bit of whey.
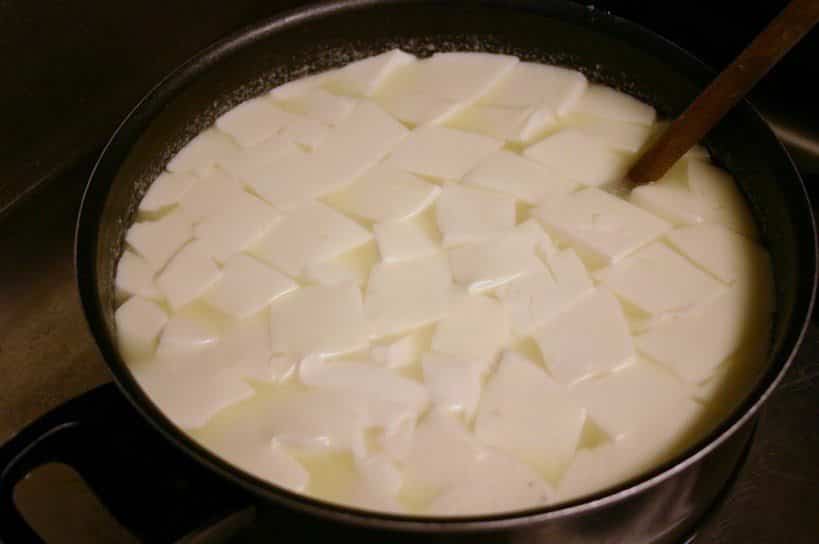
- Cut the curds to 1/2" cubes. Allow to sit and heal for 5 minutes.
- Indirectly heat the curds to 100 degrees, aiming for a rate of 2 degrees every 5 minutes. This is achieved by placing the pot in a sink of hot water (100-110 degrees) and stirring frequently. It will take about 45 minutes. Curds will shrink up a bit and the yellow whey will increase. I have also found it necessary to drain a bit of the water in the sink and refill it with boiling water. Stir the pot occasionally (and gently) to keep the curds from matting.
- Once the pot reaches 100-degrees, cover it and let sit for 5 minutes.
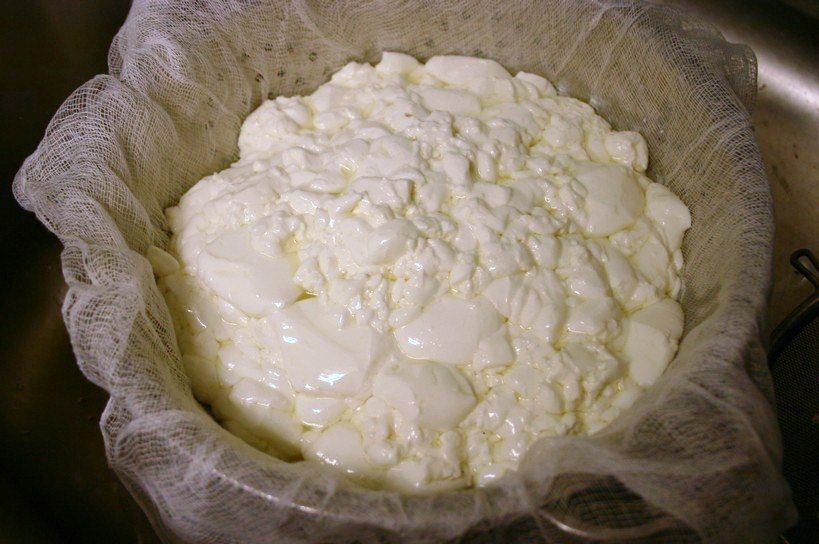
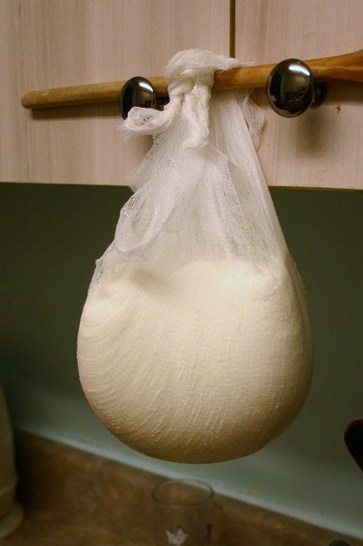
- Scoop the curds into a cheesecloth lined colander. Tie up the cheesecloth and hang for 1 hour.
- Take down the cheesecloth and break the curds apart with your fingers.
- Mix in 1 T. of salt, 1/2 T. at a time, waiting 1 minute between each addition.
- Place in cheesecloth lined press and press for 30 minutes at 4-5 pounds of pressure.
- Take the curds from the press, removing the cheesecloth. Put the cheesecloth back into the mold and return the curds to the mold upside down. Press at 10-12 pounds for 1 hour.
- Remove and turn cheese again and press at 20-25 pounds for 12 hours.
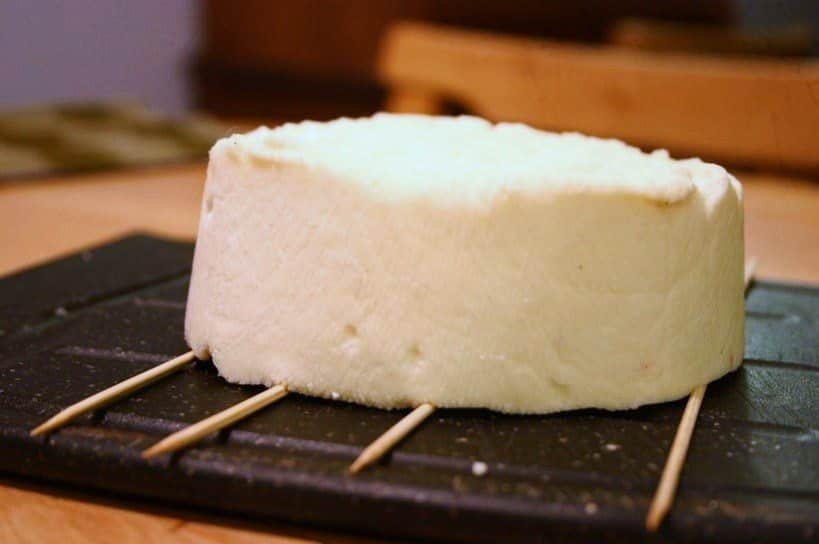
- Remove cheese from press and unwrap. Air dry for 2 to 4 days, turning twice a day. Cheese is ready when a butter colored rind develops and is dry to the touch.
- To age the cheddar, seal in wax for up to three months and store at a temperature of 45-60 degrees.
P.S. if you have cats air dry in a cracked open cupboard!
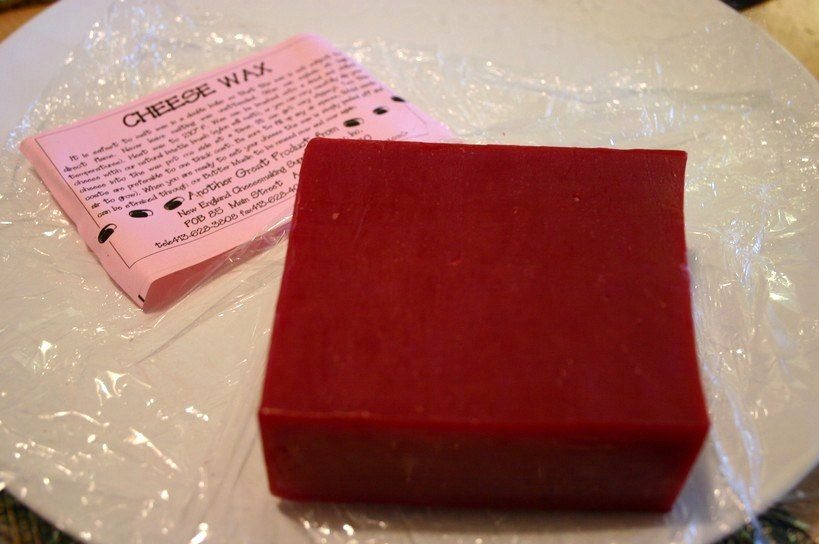
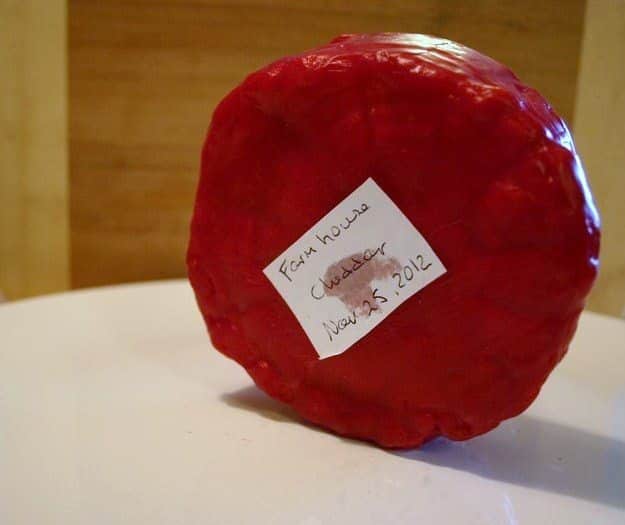
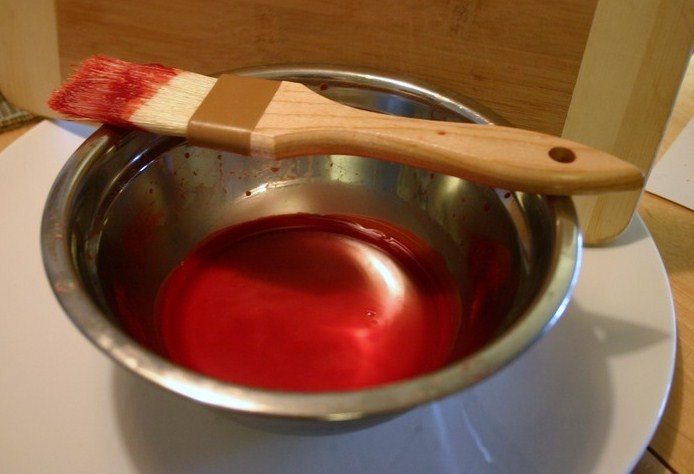
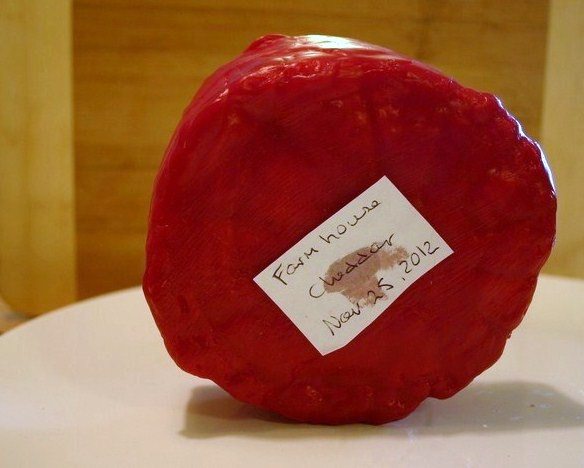
An now it is time to wax! You will need cheese wax, a metal bowl and a pastry brush. Place some wax in the metal bol and place the bowl in a slightly larger pan filled with a bit of water. Place on medium heat and the wax will melt. Coat the cheese by painting the cheese with the brush and wax. Make sure to cover every area, otherwise mold could get in. Do a second coat of wax and let it set for a few minutes. Store your cheese until ready to eat.
If you want to learn more about cheese making check out my past posts on





Holy Cow! What a beautiful cheese. You are rockin’ in the cheese department. I am so sorry to be so late getting over to review your posts. Mouth is gaping open!
XOXO
V
This is the absolute coolest!!! You are my cheese hero dear friend. WOW. And the wax! WOW. 🙂
Cheese looks great!!!!! Can’t wait to see when you cut into it.
Evelyne, you are AMAZING!
Amazing Evelyne…homemade cheese? I am so impressed…I wish I had all the patience for making cheese.
Thanks for this wonderful post and have a great week!
This is so cool, even waxing your cheese I mean! Beautiful head of cheese Evelyne very well done!
I’m so impressed. We had a cheese making party once. Believe me, our cheese looked nothing like this. We tried to use nonfat milk. It turned out like plastic and the color blue! Your cheese looks lovely!
Wow, add me to the list of impressed CEE fans! How cool that you made your own cheddar!!! And added a wax coating! Totally awesome, my friend.
I’ve had the exact same problem with store bought milk Eve! I’m so glad that you shared your solution with us because I tried so many times and wasted so much milk that I was getting very disheartened!
A most worthy endeavor Evelyn! My mouth is watering looking at your photos… Can’t wait to hear how your cheddar will taste after 3 months of aging!
Evelyne I think it is so cool that you make your own cheese. It looks great!
I’ve always enjoyed your cheese posts and somehow, the finishing touch with the wax makes it a polished, professional product. I love your inventiveness!
I am so impressed! I’ve been wanting to make my own cheese for a long time now – you are incredible for doing this. And I love that you improvised and used what you had on hand instead of using special equipment!
Just close your eyes and take the dive Faith. You can start of with very little equipment. Email me if you want a list of the basic stuff you need.
I love your press, I use similar set-ups when I make a cheese too large for my small press. You have a nice looking cheese.
Ev…I don’t even know what to say. I’m completely intimidated by this process, but at the same time..I want to try it more than anything at this moment! I don’t have the necessary equipment (I love how you improvised the cheese press!) or ingredients (the chemical ‘sounding’ ones lol), but it’s on my 2013 ‘artisan grub’ bucket list for sure! Your cheddar looks incredible! I think I could handle the wax coating – I made loads of candles in school and camp lol
Now I’m craving cheese but all I have in the fridge is Kraft singles…
I guess those will have to do…
You are so inspiring! It was fun to watch how you made the cheese. The various heavy weight was funny and I want to do the wax step! Looks so fun! It must be so delicious too!