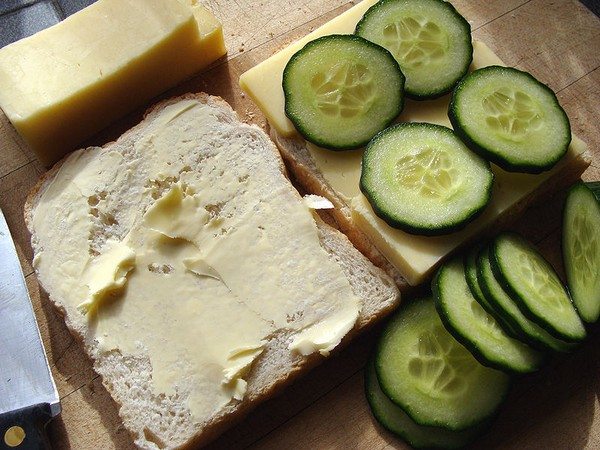
I had lunch yesterday with about 10 local food blogers yesterday (future post to come) and one topic that came up was taking pictures of our food and the frustration that comes from it.
Now we do not have food stylist folowing us in tow with a food photographer. We’ve got to do the best we can with what we have. I noticed on blogs some are definitely better at it then others. I am not one of those. I find my pictures pretty plain. They are also often group shots of the dinner parties, maybe not so much the food.
But still I searched the net for food photography tips for the common folk and I found 2 really great articles: Food Photography – An Introduction and 101 Cookbooks – Food Photography Tips. Let me share the texts that I found were the finer helpful points:
Get a good lens:
– If you have a point-and-shoot camera, make sure it has a good macro mode on it. Really focusing in upon just one part of the dish can be an effective way of highlighting the different elements of it.
– If you are going to invest in a digital SLR don’t buy the “package” with the stock lens. Buy the body and then buy a faster lens separate.
ISO range:
If you typically shoot at night, indoors, or in dimly lit environments consider the ISO range on the camera – the digital equivalent of film speed. 1600 and up is great, 3200 even better.
Learn to color balance:
A lot of the amateur food photography is plagued by an orange or blue cast that washes over the entire image. By learning how to adjust the color balance (either in the camera or in an image processing program) they can clear that problem right up. This is particularly a problem for people who shoot indoors under artificial lighting.
Lighting:
Treat the food you’re photographing as you would any other still life subject and ensure that it is well lit. One of the best places to photograph food is by a window where there is plenty of natural light. This daylight helps to keep the food looking much more natural. Soft light, sometimes diffused with a thin curtain is best to avoid direct light because it throws really harsh shadows across the food. No Flash. Ever. Unless you want your food to look sweaty and greasy – which can sometimes be cool/modern when you are talking about BBQ or something. But get the techniques down using natural light first, and then start breaking the rules.
Use a tripod:
No flash usually means blurry images if you hold the camera with your hands. Get a mini tripod that you can carry in your bag or purse and use the timer function on the camera if you have one.
Backgrounds:
Pay attention not only to the arrangement of the food itself but to the context that you put it in including the plate or bowel and any table settings around it. Don’t clutter the photo with a full table setting but consider one or two extra elements such as a glass, fork, flower or napkin. These elements can often be placed in secondary positions in the foreground or background of your shot.
Be Quick:
Food doesn’t keep it’s appetizing looks for long so as a photographer you’ll need to be well prepared and able to shoot quickly after it’s been cooked before it melts, collapses, wilts and/or changes color. This means being prepared and knowing what you want to achieve before the food arrives. One strategy that some use is to have the shot completely set up with props before the food is ready and then to substitute a stand-in plate to get your exposure right. Then when the food is ready you just switch the stand-in plate with the real thing and you’re ready to start shooting.
Style it:
The way food is set out on the plate is as important as the way you photograph it. Pay attention to the balance of food in a shot (color, shapes etc) and leave a way into the shot (using leading lines and the rule of thirds to help guide your viewer’s eye into the dish). Don’t get hung up on the getting the quintessential “final shot”. There are all sorts of great detail shots that emerge throughout the cooking process – the environment, the raw ingredients, the chopping, the motion, the flames and all the action that comes into play in the second act, and THEN the final plated image itself. A tip: have some vegetable oil on hand and brush it over food makes it glisten in your shots.
Get Down Low:
A mistake that many beginner food photographers make is taking shots that look down on a plate from directly above. While this can work in some circumstances – in most cases you’ll get a more better shot by shooting from down close to plate level (or slightly above it).
Steam:
Having steam rising off your food can give it a ‘just cooked’ feel which some food photographers like. Of course this can be difficult to achieve naturally.Â
Happy Food Shooting!
Hugs and Biscuits
Evelyne


Easily, this article is really the most informative on this deserving topic. I agree with your conclusions and am eagerly look forward to your future updates. Just saying thanks will not just be enough, for the extraordinary clarity in your views and writing. I’m signing up to
Hi Evelyne!
I wrote an article on food photography tips a little while back – here it is if you want to take a look!
http://www.boston.com/community/photos/raw/2009/01/photographing_food.html
Let’s aim for a new foodie event soon? I hope we can get in on the sugar shack festivities,
Jenn