Time flies, I was late with my last cheese post so you are getting another one already. We are at the 6th month of Cheesepalooza. This January we were asked to make a Parmesan, Asiago, Romano , or Brick. When I grew up and it was spaghetti night, my mom always set Parmesan and Romano grated cheese at the table. Granted it was the fake Kraft stuff. Well I always went heavier on the Romano as I found it had a sharper flavor. So decided to make a Romano of course.
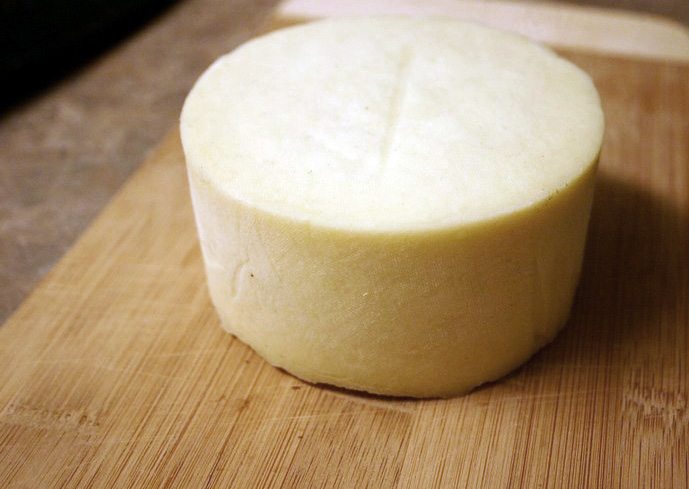
Romano at just under 2 months
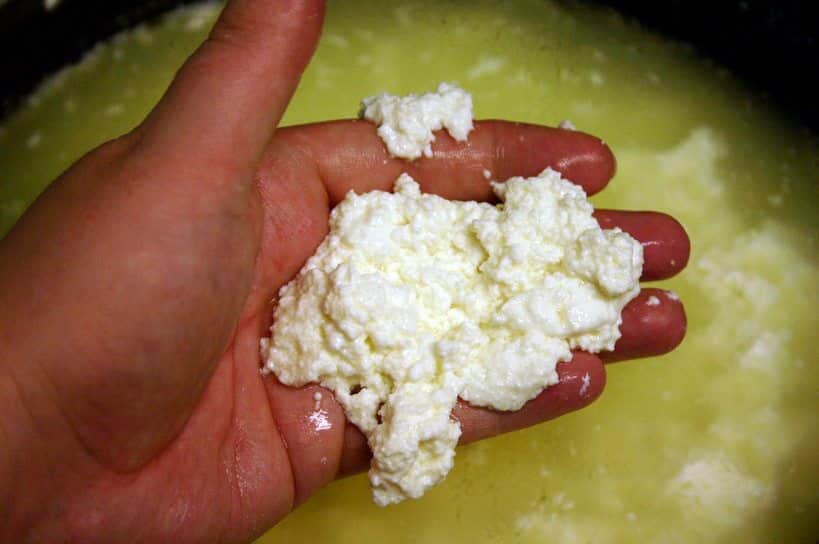
My weird final curds
If you want to see the whole process of making cheese, from flocculation to cutting the curd and releasing the whey, check out my earlier post. I always seem to combine more than one recipe when I make a cheese. The reason is because I use calcium chloride in my recipes since I use store bought milk. Not all recipes list it. This Romano is a mix of this recipe and this recipe. If you use Lipase for flavor like I did, make sure to get half whole milk and half skim milk to lower the fat content.
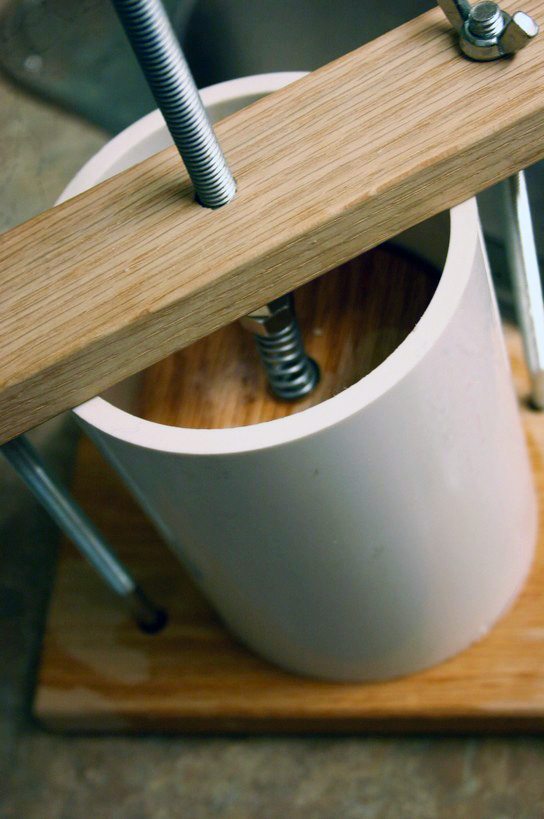
My new cheese press woohoo!
I made a couple of new discoveries too this month. The first major improvement is my new cheese press. Everyone stand up and say: YAY! A press becomes essential when you get into these types of cheeses. Unfortunately a new press at cheese supply stores start at $150. Ouch! Well I took a look on Ebay and I found one for $50 shipping included. I jumped on the Buy Now button. It’s homemade and not absolutely perfect but it is a cheese press and it works great. So happy.
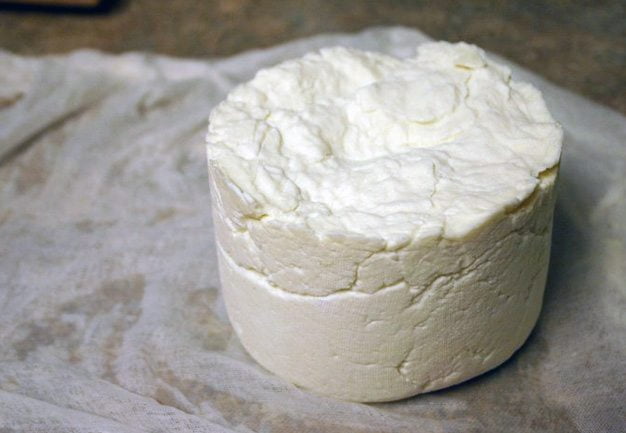
After first press – butter muslin under cheese
Turns out a friend’s dad tried for 2 months to make cheese and moved on to another hobby. When he found out about my experiments he gave me all his cheese stuff. That was so nice, thank you Raquel’s dad! I got a book, ingredients, a cheese ladle, cheese wax and also butter muslin. OMG I will never use cheesecloth again! Butter muslin is a much tight weave so 1 layer is usually enough and, the best part, you can was it and reuse it. Not a bad idea to disinfect it too after each use in boiling water.
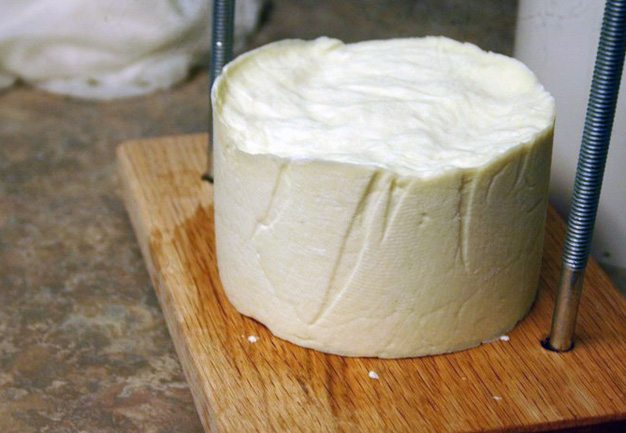
After second press
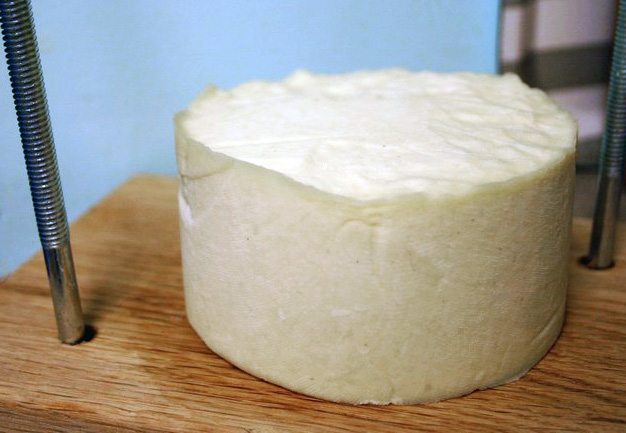
After third press
The brine recipe I got here. Once you are done brinning just put the brine in a thick freezer zip-lock bag and keep it in the freezer till you need it again. Keep in mind the liquid will not become soild so make use it is place somewhere it will stay upright.
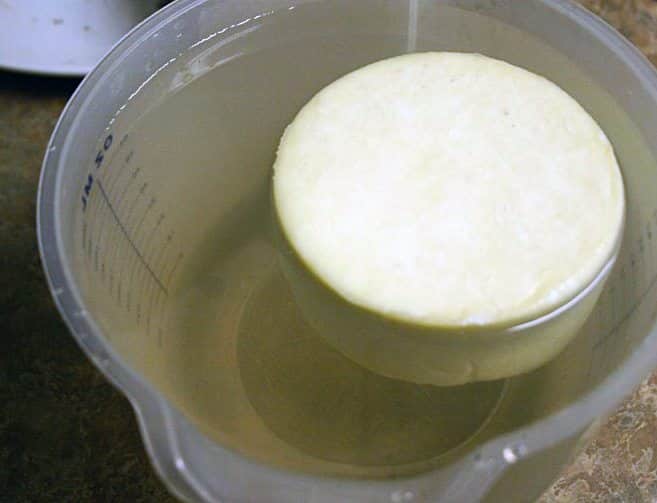
Bathing in brine
So this recipe was a challenge for me. I am starting to believe that cheeses made with mesophilic culture and buttermilk guarantee success for me. Anything using citric acid or thermophilic culture failure is lurking. This claim is entirely based on my gut instinct. The last two cultures always make my milk turn to curd or ricotta. I added the rennet and went straight to the supposed end curd result. Technically it may not be Romano in the end but it is a cheese.
My cheese is almost 2 months old now and I will soon rub it with olive oil. Mold has not been an issue so far. I love smelling the flavor developing from the cheese. All cheese starts of with pretty flavorless curd. In aging the magic of cheese chemistry takes place and flavors come to life. I have to wait at least another 3 months before tasting. Torture!
Romano Cheese
Ingredients
- 2 quarts skim milk
- 2 quarts whole milk
- 1/2 packet of Thermophilic Starter Culture
- 1/4 teaspoon lipase powder dissolved in 1/4 cup cool water 30 minutes*
- 1/4 teaspoon calcium chloride dissolved in 1/4 cup cool water
- 1/4 teaspoon rennet dissolved in 1/4 cup cool water
- 1/2 gallon water
- 1 pounds cheese salt
- 1/2 tablespoon calcium chloride
- 1/2 teaspoon vinegar
Instructions
- Begin by heating the milk to 90F.
- Once the milk is at 90F, the culture can be added. Allow the milk to ripen at 90F for 60 min.
- At 40 minutes add the re-hydrated lipase Stir this in well.
- When the time is up add diluted calcium chloride and mix for 30 seconds.
- Then add diluted rennet and stir gently with an up-and-down motion for 1 minute.
- The milk now needs to sit quiet for 30 minutes until you get a clean break.
- Cut the curd into 1/4-inch cubes. You need nice small curd cubes.
- Heat the curds to 116 degrees over the course of 45 minutes, raising the temperature by 2 degrees every 5 minutes. Watch the temperature constantly.
- Maintain the curds at 116 degrees for 30 minutes or until curd retains its shape when squeezed. Drain off the whey.
- Line a 1-pound cheese mold with butter muslin or cheesecloth. Place the curds in the mold.
- Press at 5 pounds for 15 minutes.
- Remove the cheese from the mold and gently peel away the cheesecloth. Turn over the cheese, re-dress it, and press at 10 pounds for 30 minutes.
- Repeat the process but press at 20 pounds for 2 hours.
- Repeat the process again but press at 40 pounds for 12 hours.
- Remove the cheese from the mold. Peel away the cheesecloth.
- Make a brine using 1 pound of cheese salt stired until disolved. Mix in calcium chloride and vinegar.
- Soak the cheese in the brine for 6 hours in the refrigerator, flipping it every 90 minutes. Remove the cheese from the brine and pat dry.
- Age the cheese at 55 degrees and 85 percent humidity. Turn it over frequently and check for mold. If there is any, you can remove it with a cloth dampened in vinegar or salt water.
- After 2 months, lightly rub the cheese with olive oil to keep the rind from drying out. Age for another 3 to 10 months.
Notes
If you want to learn more about cheese making check out my past posts on


Your recipe says 5 oz of thermofillic culture? That must be a mistake?
Absolutely Gorgeous Cheese!
Bravo! Cannot wait to hear how it tastes! Guess will have to be VERY VERY patient.
🙂
V
You are really amazing!! I’ve been enjoying your homemade cheese posts, and I have to say I learned quite a lot from your experiments!
I can’t believe you are making cheese!!! I can’t believe you have a CHEESE PRESS!!! That is so amazing. I can’t wait to read the other posts. Off I go.
Wow, your Romano looks fabulous!!! How great that you have all that specialized equipment! Can’t wait to hear about the taste in a few months 🙂
I love making my own fresh cheese (queso fresco),but your cheese looks delicious!
Wow – $150 is a setback. I’m so glad you found one for under $50! You seem like you’re really enjoying cheese making, so it’s worth every penny I’m sure. And the cheese looks wonderful!
Eve, your cheese making adventures inspire me so much to do my own! 😀
I love a sharper flavor…cool cheese press =)
Evelyne I can not get enough of your Cheesepalooza posts. This is so super neat! Thanks for sharing and letting me live my cheese making dreams through you. hehe:)
The cheese presser looks very cool! You made a beautiful head of cheese!
I am going to age my asiago until next Christmas (Gifts) it takes a great deal of will power. I have a Cheddar that is almost a year old. You cheeses look great.
Thank Ian for your comment and encouragement. I will try and hold out for 10 months if my will is strong lol.
Nice looking Cheese. Well done, you have a great knit on the rind and it looks pretty solid. Don’t give up thermophilic cheeses can be tricky at times but they are worth the effort. How long are you going to age it?
Yep, that’s right. Keep taunting me with your homemade cheese.
I’ll go back to eating my Kraft singles…
amazing! I have never tried to make my own cheese!
I made this 7 years ago, but after researching it should have been 1/2 packet of Thermophilic Starter Culture. Thanks.