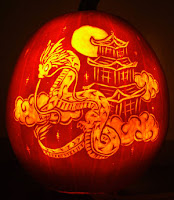
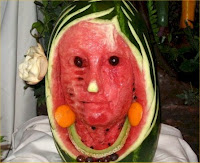
 I thought it would be appropriate to have a post about pumkin carving…and a few coool photos. text taken from pumpkincarving101:
Carving a pumpkin into a Jack-O’-Lantern freehand is the traditional way of doing it, is very easy and only takes a few basic tools. A large spoon or ice-cream scoop, a thin bladed knife and some newspaper will get you started.
 With a long, thin bladed knife, cut out the top of the pumpkin around the stem of the pumpkin. The hole should be large enough to allow you to scoop out the guts (seeds and stringy membrane) by hand and with a large spoon. Generally, the size of the hole should be about two-thirds the diameter of the pumpkin. While you can cut a round circle out, you’ll find that cutting a five or six sided opening will work the best. As you cut out the top hole, angle the knife so that the lid and hole will be somewhat cone shaped. This will help prevent the lid from falling into the hole. Now you can use a large spoon to scrap the inside walls of the pumpkin clean.
 Inspect the surface of the pumpkin to decide the best side to carve you face. Now, visualizing the face you want to carve, use your knife to carefully cut out the individual parts of the face or you can pre-marked the pumpkin by using a Crayon to draw the face onto the surface of the pumpkin and cut through the lines you drew. When you are finished cutting, carefully push out the pieces to view the final results.
 Make sure that you have scrapped the bottom of the pumpkin flat, so that the candle will sit level in the pumpkin. We prefer the traditional use of candles to illuminate our Jack-O’-Lanterns. A Votive candle, placed in a clear glass candle holder is safer and will actually last longer. Also, plain white candles give off the most light and will illuminate the inside of your Jack-O’-Lantern the best.
Hugs and Biscuits,
Evelyne


